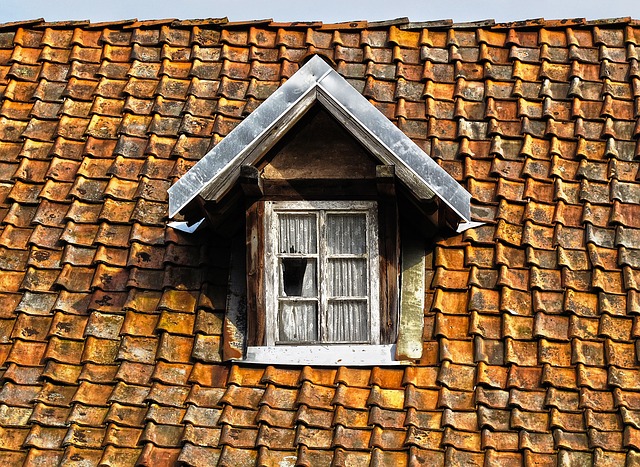
A roofer inspects chimneys and skylights for flashing damage, addressing cracks, holes, and corrosion. They select durable materials like aluminum or copper for repairs, reinforcing structures as needed. The process involves meticulous preparation, precise cutting, and sealing for long-lasting protection against water damage. Regular maintenance by professionals ensures the integrity of these vital areas, safeguarding homes from structural issues.
“Maintaining the integrity of your home’s roof is paramount, especially when it comes to chimneys and skylights. This article guides you through the process of repairing or replacing flashing, a crucial element often overlooked. With proper care, roofer can extend the lifespan of these areas, preventing costly water damage. We’ll walk you through evaluating damage, understanding necessary materials, and providing a step-by-step guide for ensuring a durable, weatherproof seal. Arm yourself with knowledge and take control of your roof’s protection.”
- Evaluating Damage and Materials Needed for Repairs or Replacement
- Step-by-Step Guide to Ensuring Proper Installation and Longevity
Evaluating Damage and Materials Needed for Repairs or Replacement
When assessing damage to flashing around chimneys and skylights, it’s crucial to have a thorough understanding of the extent of the problem. Roofers will first inspect the area to identify any cracks, holes, or signs of corrosion in the metal flashing. They’ll also check for proper drainage and ensure that water isn’t pooling anywhere, which could lead to further damage. During this evaluation, roofers consider both functional and aesthetic aspects, as even minor issues can compromise the structural integrity if left unaddressed.
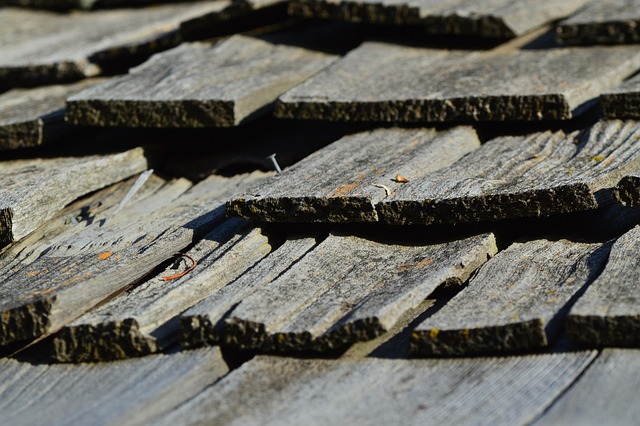
The next step involves determining the materials required for repairs or replacements. Common choices include aluminum, copper, or stainless steel flashing, each with its own advantages in terms of durability and aesthetics. Roofers will also need to assess whether the existing structure needs reinforcement or any additional components to ensure long-lasting protection. This meticulous planning is essential to guarantee that the final fix not only repairs current damage but also prevents future problems.
Step-by-Step Guide to Ensuring Proper Installation and Longevity
Step-by-Step Guide to Ensuring Proper Installation and Longevity
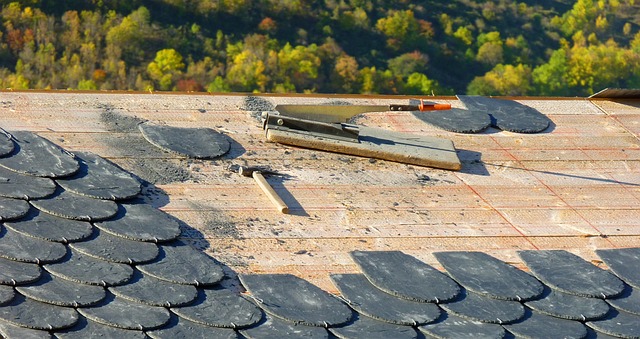
The process begins with a thorough inspection by a professional roofer to identify any existing damage or vulnerabilities. They will assess the condition of the flashing around chimneys and skylights, ensuring it’s free from corrosion, tears, or loose connections. Next, the roofer removes the old flashing, carefully cleaning the area to prepare for new installation. This step is crucial for achieving a watertight seal.
Once the surface is ready, they measure and cut new flashing materials—usually made of durable, weather-resistant metals—to fit precisely around the chimney or skylight. The roofer then meticulously applies the new flashing, using appropriate adhesives or seals to secure it in place. Regular maintenance checks by a qualified professional are essential to ensure the longevity of these repairs, safeguarding your home against potential water damage and structural issues.
When it comes to maintaining your home’s integrity, addressing flashing issues around chimneys and skylights is paramount. With proper evaluation, selection of suitable materials, and a step-by-step approach, roofers can ensure these repairs or replacements stand the test of time. By investing in quality workmanship and durable components, you safeguard against potential leaks and extend the lifespan of your roofing system, offering peace of mind for years to come.